The Configure tab contains commands which allow the user to influence various aspects of the item’s configuration.
When clicked, the Configure tab displays the Appearance, Masters, Template and Attributes chunks (see the screenshot below).

The Appearance chunk contains the Icon, Help, Editor Form, Tree Node Style, Contextual Tab, Context Menu (see the screenshot below).
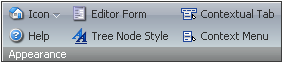
![]() Select to assign an icon to the current item. Select the appropriate icon from the menu which will appear.
Select to assign an icon to the current item. Select the appropriate icon from the menu which will appear.
![]() Select to set help texts and links for the item.
Select to set help texts and links for the item.
![]() Select to assign a custom form for editing.
Select to assign a custom form for editing.
![]() Select to specify the appearance of the item in the Content Tree.
Select to specify the appearance of the item in the Content Tree.
![]() Select to have the contextual tab in the ribbon displayed when this item is open.
Select to have the contextual tab in the ribbon displayed when this item is open.
![]() Select to assign a context menu.
Select to assign a context menu.
The Masters chunk contains the Assign button (see the screenshot below).

![]() Select to assign masters to the item. When clicked, the Assign button will open the Set Masters dialog (see the screenshot below).
Select to assign masters to the item. When clicked, the Assign button will open the Set Masters dialog (see the screenshot below).
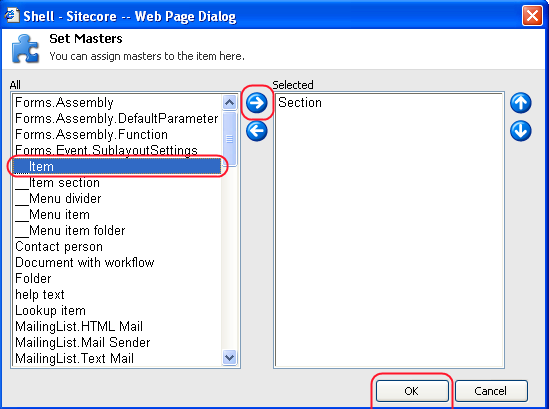
In the All section, select the item you wish to assign to the item, select the blue rightward arrow button, and click OK in the botton right-hand corner of the dialog (see the screenshot above).
The Template chunk contains the Change Template, Edit Template, Add Field and Delete Field buttons (see the screenshot below).
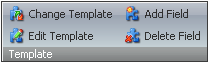
![]() Select to assign another template to the item.
Select to assign another template to the item.
![]() Select to open the Template Editor.
Select to open the Template Editor.
![]() Select to add a new field to the template.
Select to add a new field to the template.
![]() Select to delete a field from the template.
Select to delete a field from the template.
The Attributes chunk contains the Hide item and Protect item buttons:

![]() Select to mark or unmark the item as hidden.
Select to mark or unmark the item as hidden.
![]() Select to mark or unmark the item as being protected (read-only).
Select to mark or unmark the item as being protected (read-only).
Important Note: the Protected attribute is just a UI attribute, not a core attribute. When a protected item is selected, the Delete button is disabled. But users can delete protected items by choosing Delete subitems on the parent item.